T7 Mobile POS for Counter Billing
Compare product search with a photo catalogue.
Mobile POS lets a cashier create a bill from a supported phone or handheld device. Test T7MPOS with your own items and equipment, and check which checkout actions are available during a connection drop and how posted records are reconciled when service returns.
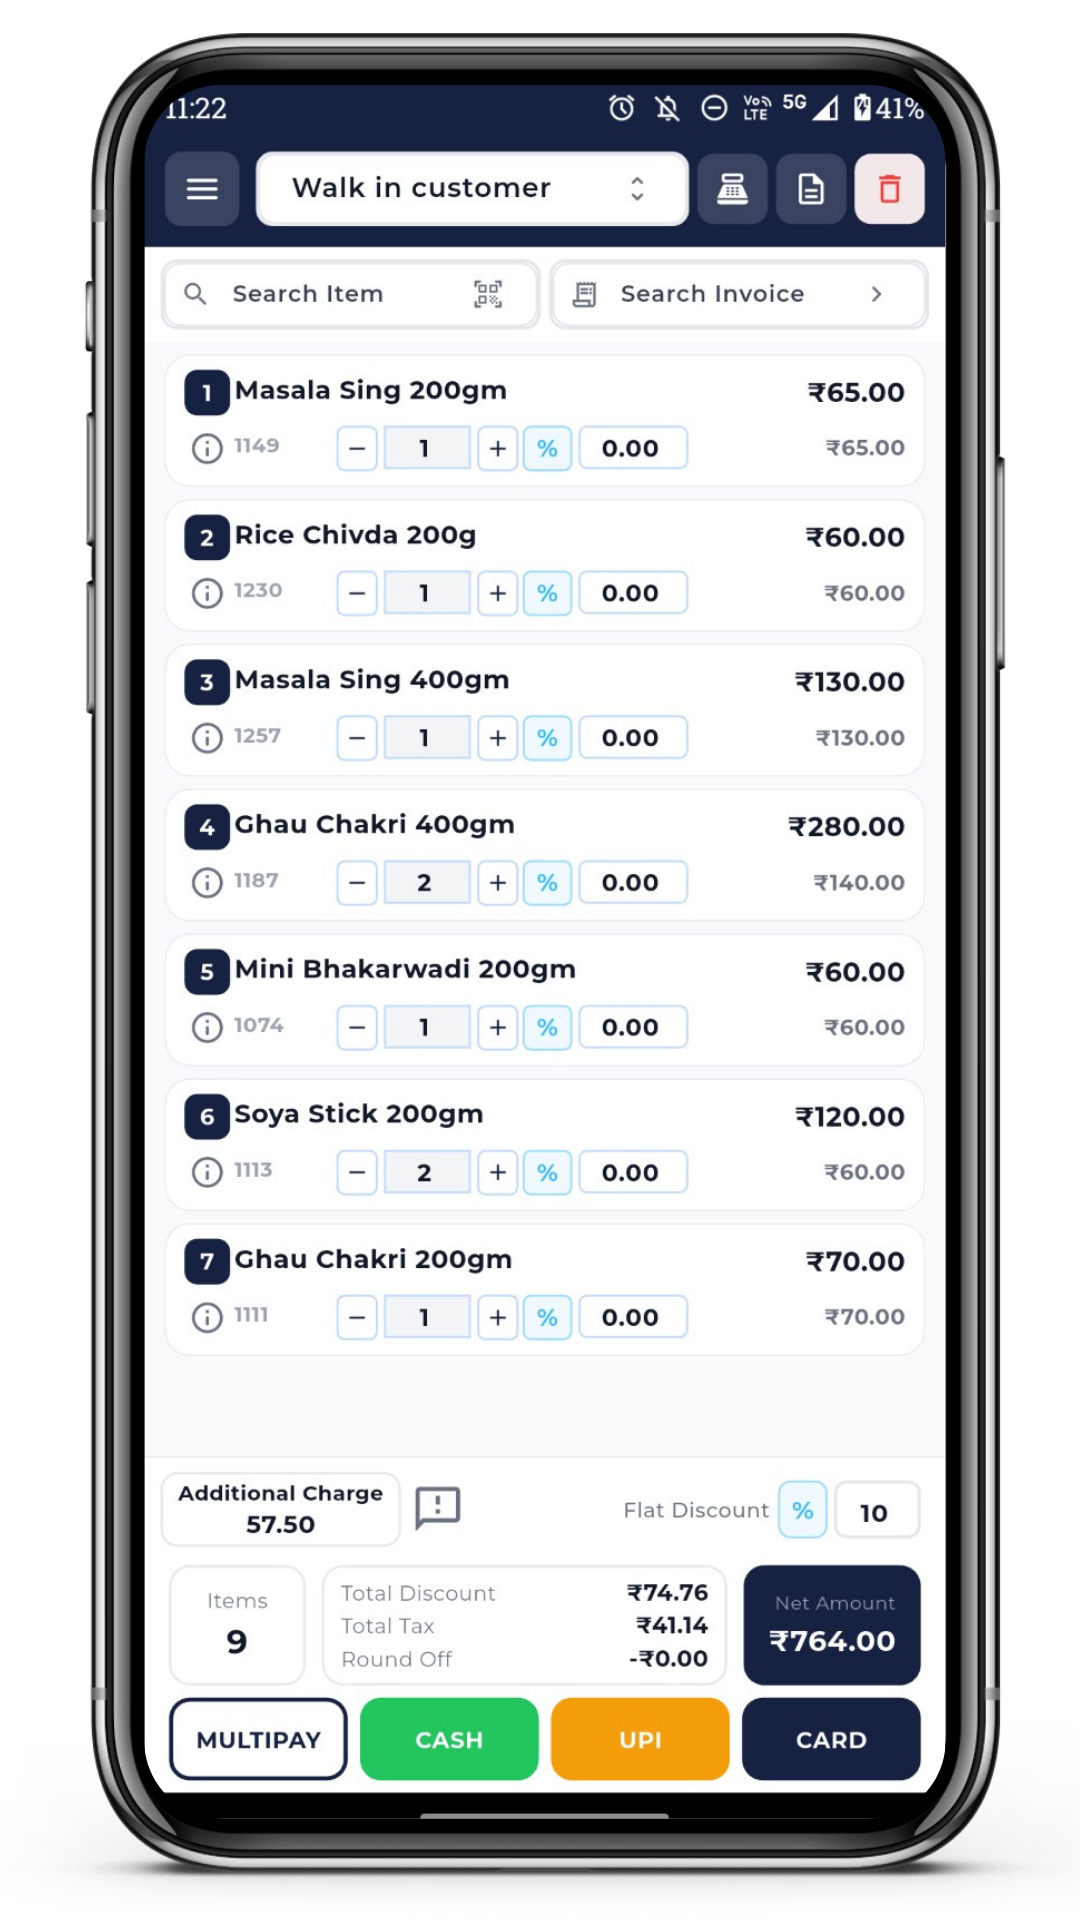
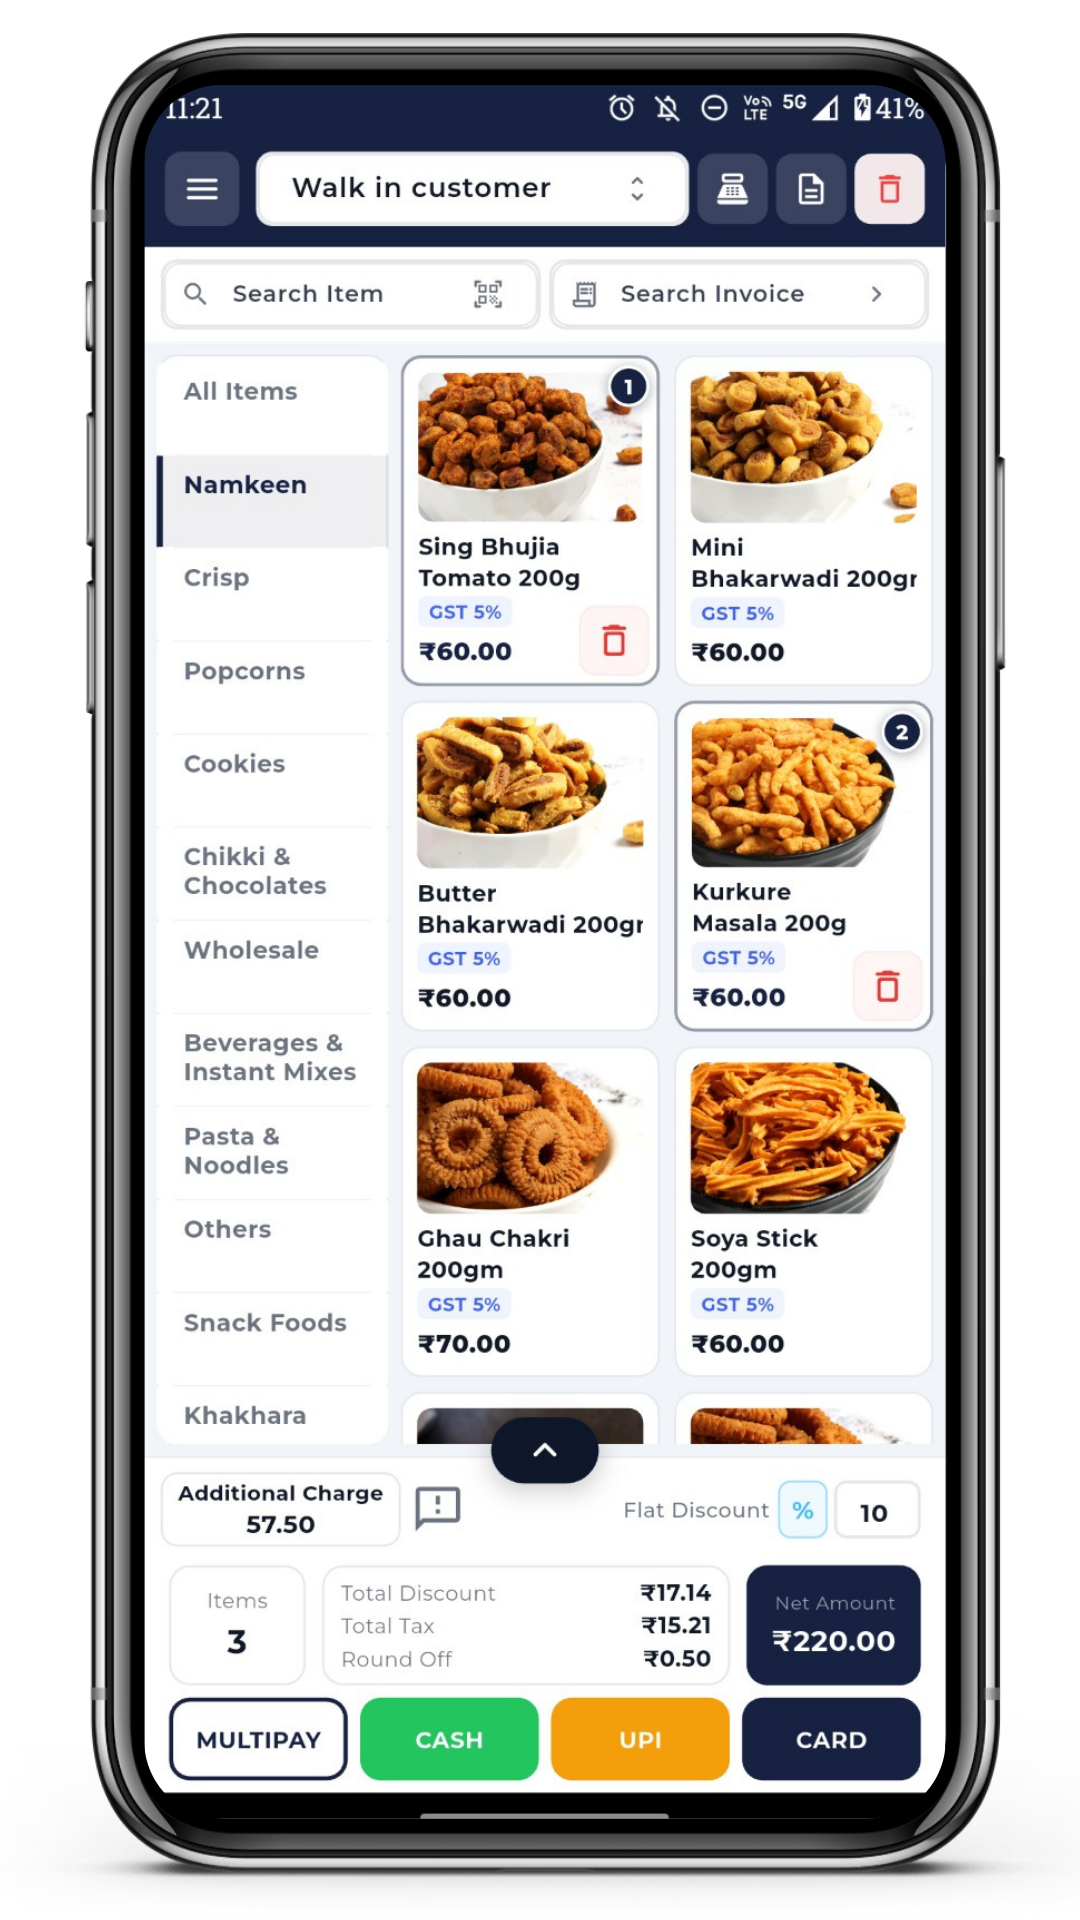
ITEM SELECTION
Search or Tap a Photo
SHIFT CLOSE
Review Posted Records
How do you reconcile a mobile POS shift after a connection drop?
Use a sample shift, your intended device and representative products. Check which actions still work when the connection drops, which ones are deferred, and what the next operator sees when the device reconnects. A saved bill is not by itself evidence that a payment was received or stock was posted.
- Open the shift: Sign into the test outlet and put the same item in a bill once with product search and once using a photo tile. Confirm how the operator checks quantity, variant and price.
- Introduce a conflict: While one device is disconnected, let the other register sell the last unit. Ask what the mobile device shows, which record becomes authoritative after reconnecting, and how staff can identify and resolve a duplicate or failed posting.
- Close the shift: Reconcile the sales, receipts and item movement against the chosen outlet report. Include a refund and a payment that cannot be confirmed. Record who handles exceptions and whether a receipt can be reproduced without posting the sale again.
Confirm device model, OS version, printer or scanner, connection type and configured offline limits before rollout. For fixed registers review counter POS workflows; for stock and approvals across outlets see multi-branch POS. Bring the results to a T7 ERP demo discussion.
CHOOSE YOUR VERSION
Which item selection layout fits your counter?
Compare a list-based search with a photo-based grid. Use the same items in both layouts to see which is easier for your staff to check and correct.
For teams that search by item or variant
Standard POS
Look up and confirm the item.
A list view may suit catalogues with many similar names or variants. Check what staff see before choosing the item and review quantities and discounts on the bill.
- Searchable product catalogue
- Test barcode selection with your equipment
- Category-wise product clustering
- Try a sample at your catalogue size
- Rate modifiers & discounts on active row
For counters that identify items visually
Image Based POS
Tap the product photo. Add to cart. Done.
A photo grid may suit a compact menu. Include two items with a similar image and ask cashiers to verify size, portion or variant before adding a line.
- Visual product tiles
- One-tap cart additions
- Check readable names and variants
- Test a new operator’s flow
- Review corrections when there is a queue
HOW IT WORKS
What should you check before your first shift?
Run a sample sale with the planned device, catalogue and receipt method before choosing a rollout.
Download & Login
Confirm supported models and operating system versions. Set up a demo login and check which outlet and item records the device can access.
Set Up Your Catalog
Use representative items and confirm prices, variants and receipt fields. Check which catalogue fields appear in each layout.
Choose Style & Bill
Use item search and the photo grid on the same basket. Try correcting the quantity before posting a sale.
Checkout & Print/Share
Test the payment and receipt methods intended for your setup, including an unconfirmed payment and a reprint.
Bring Your Counter Setup to the Demo
Test the planned device, staff workflow and shift reports before replacing or extending a register.
FAQ
Frequently Asked Questions
Review detailed questions and parameters before getting started with mobile billing counters.